
Email marketing is basically the utilization of email within your marketing efforts to promote a company’s products and services, as well as incentivize customer loyalty through email.
To get everything rolling with email marketing, you’ll need a third-party email marketing software to help you:
• Collect and manage your subscribers
• Send emails to those subscribers and ensure those emails don’t go to spam (that second part is hard to do, which is why you shouldn’t just send emails by yourself)
There are plenty of email marketing services out there, but for the purpose of this tutorial, we recommend using MailChimp to start off with. They have a free plan that you can use until you exceed 2,000 subscribers. To join with MailChimp, click HERE.
MailChimp will send you a confirmation email. Click on the link in that email, and start setting up your email account…

CREATE YOUR FIRST EMAIL MARKETING CAMPAIGN
Once you’re through, it’s time to set up your first automated campaign.
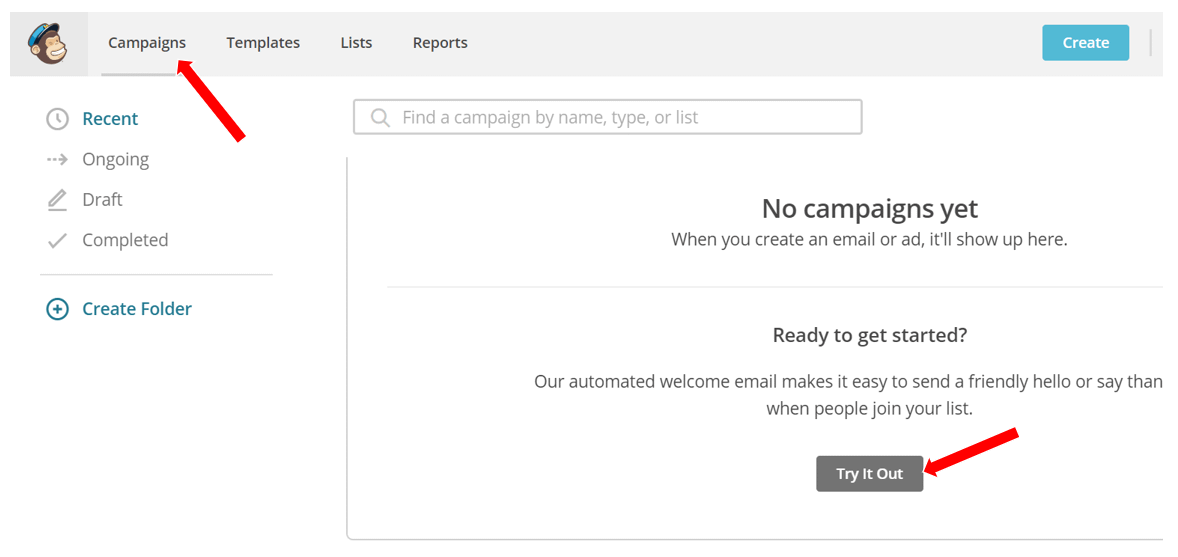
Click on “Campaigns” at the top panel, and then scroll down and click on “Try It Out”. You’ll be redirected to a drag-and-drop editor where you can create an automated welcome message that your new subscribers will receive.
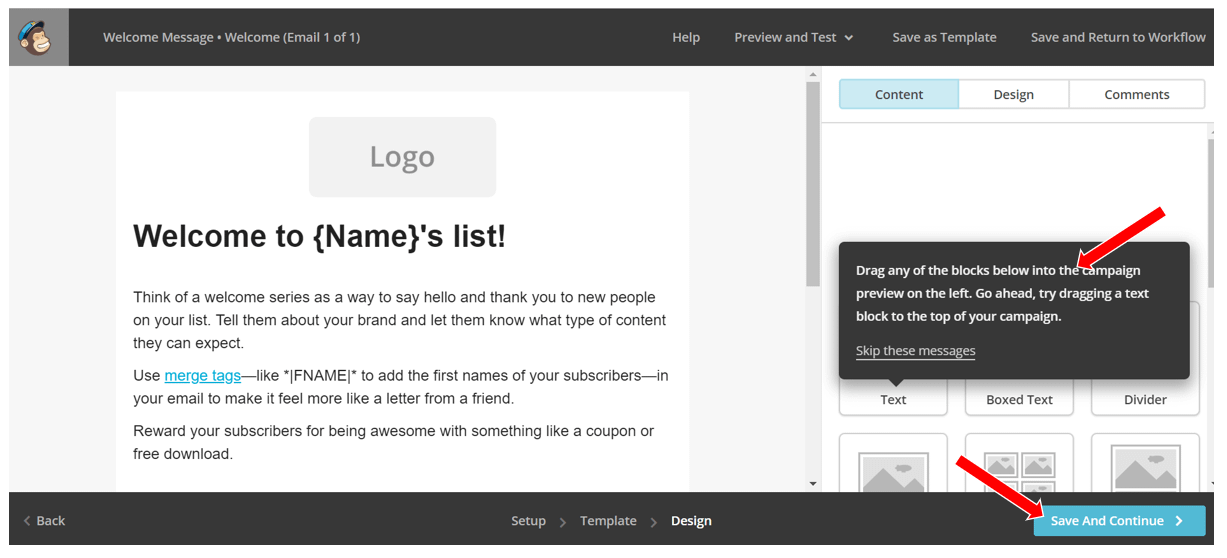
The setup wizard will guide you through the process.
Once you’re done customizing your email, click on “Save And Continue”.
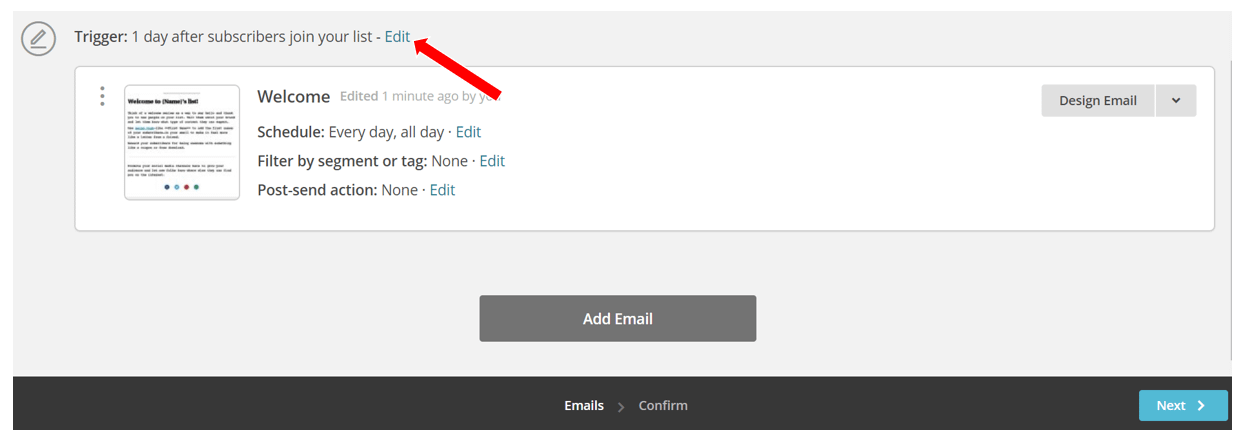
Since you want your email to reach your subscriber’s inbox immediately when they subscribe, click on “Edit”, and change this to “0 days”.
If you want to add another email to this series, click on the “Add Email” button.
YOU CAN USE YOUR SECOND EMAIL TO:
- Send subscribers to your most popular blog articles
- Provide subscribers valuable information and content (this falls under the “Nurturing” step of the funnel.)
To keep it to a single email as of now, that’s fine too. Click the “Next” button at the bottom of the page…
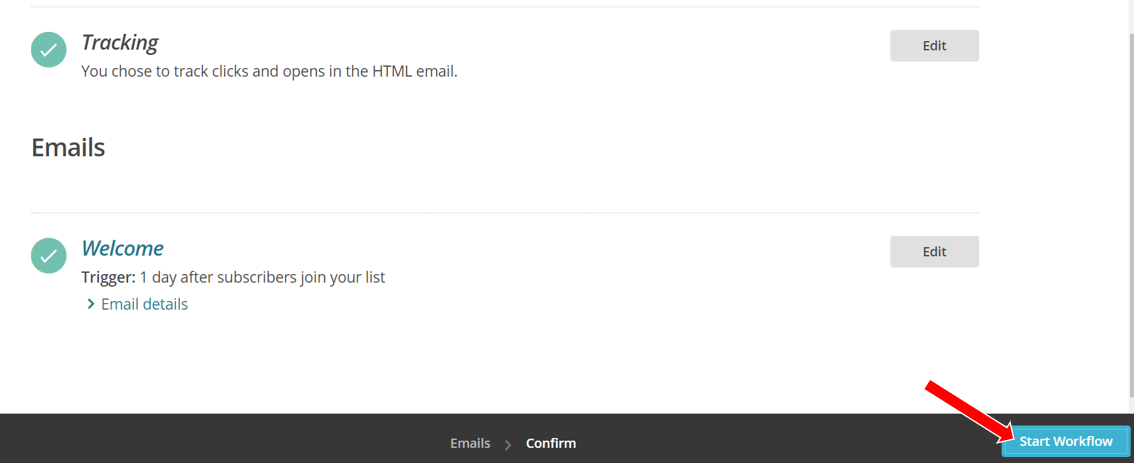
Then click on Start Workflow.
Congratulations! You’ve successfully set up your first automated campaign.